A Black-and-White Tablescape for a Small Dining Table: A Complete Setup Recipe
A black-and-white table can feel deliberate without requiring matching products from a themed collection. The key is contrast, repetition and enough empty space for the meal. This original setup recipe is for a compact home table; adapt it to the furniture and service you actually use.
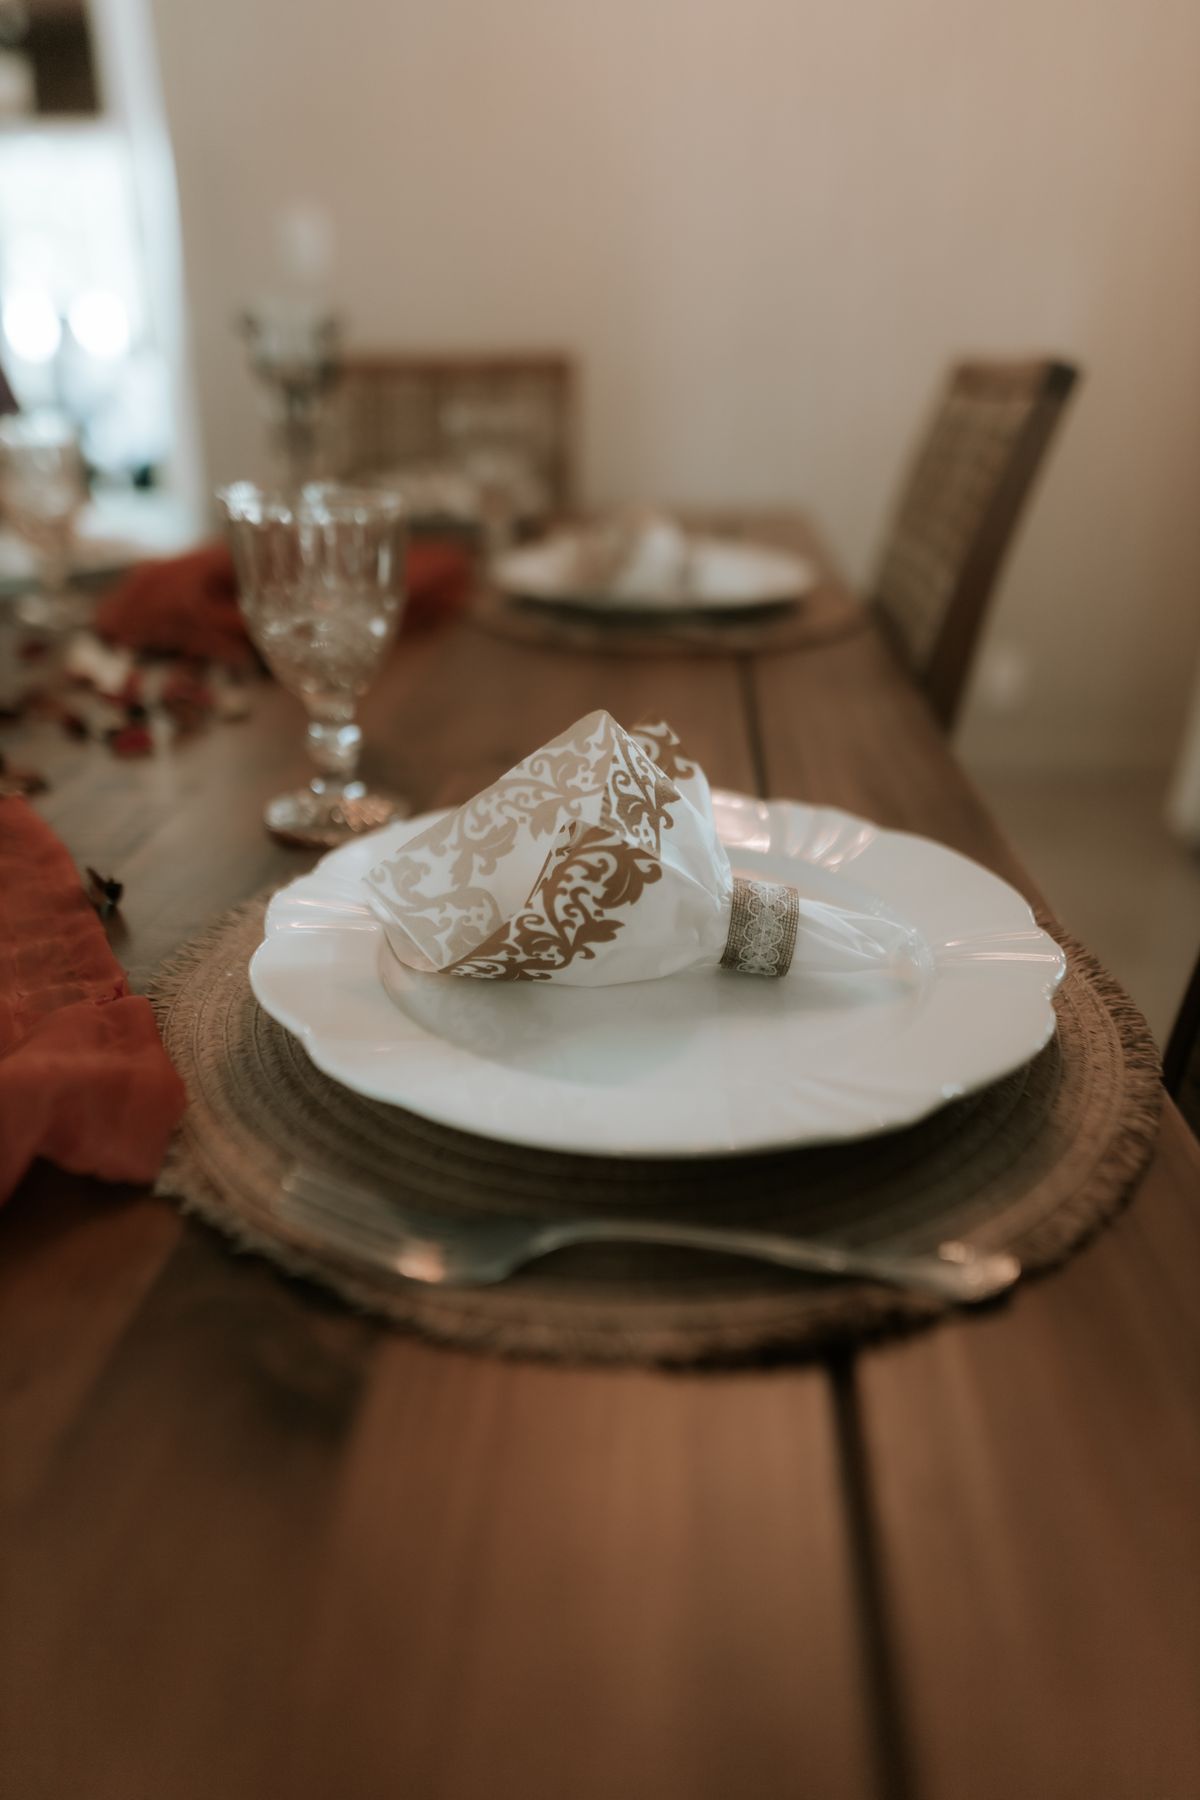
Photo: Pexels · License. Illustrative stock photography; pictured people, products and settings are not claimed to demonstrate this exact guide or endorse this publication.
Start with the actual decision
Choose the meal format before decoration. Family-style serving needs open center space, while plated food may allow a different arrangement. Decide which existing items you want to use: a plain cloth, simple plates, dark napkins or clear glasses. Avoid buying everything in both colors. One dominant light surface and a few repeated dark details can create a coherent effect while keeping the table readable and easy to maintain.
Prepare the working information
Measure the tabletop and test the actual plates and glasses. Inventory what you own, what you can borrow and what must be bought. Select one focal detail, such as a small low arrangement or a narrow runner, and check its stability. If you use place cards, choose readable black type on white card rather than decorative lettering too small to decipher. Keep the menu and serving dishes in the prototype so the design is tested under real conditions.
A worked example you can adapt
For six places, an illustrative recipe is six plain plates, six dark napkins, six glasses and one narrow central arrangement. If the meal uses two large shared platters, leave space for both before adding decor. The item counts are arithmetic, not a shopping list of required products. A table without a cloth can also work if the surface is suitable and you prefer the contrast of light plates against it.
Follow the sequence in order
Clean and prepare the surface first. Place the main plates, then glasses and cutlery according to what the meal actually uses. Add napkins in a simple fold and any readable name cards. Place the centerpiece last so it fills only the space left after service needs are met. Sit at opposite ends and check sightlines. Photograph the approved setup if helpers will reproduce it, then pack small pieces in the order they will be placed.
Choose between the realistic options
Choose a runner, cloth or bare surface based on the table, not a trend. A runner may be enough for visual structure and easier to manage than a long hanging cloth in a tight room. Keep centerpieces low or sparse where conversation would otherwise be blocked. Flameless lights can be a practical option. If using real candles, follow appropriate guidance and keep combustible decor away; a paper-heavy centerpiece is not a reason to ignore the surroundings.
A ready-to-adapt message
A helper card might read: 'Use one dark napkin per place, folded once beside the plate. Leave the middle clear for the two serving platters. Put the small arrangement at the far end only after the platters are positioned. Name cards face the approaching guest. No extra decorative pieces are needed.' Replace the details with the tested setup. A short recipe avoids a well-meaning helper filling the empty space that was intentionally reserved for food.
Catch the common failure points
Common mistakes are too many competing patterns, tall objects between guests and buying napkins before confirming how many places actually fit. Avoid paper confetti that can mix with food or become difficult to clear. Do not put loose tiny objects within young children's reach. If the table feels crowded, remove a decorative layer before reducing the useful eating space. High contrast should improve clarity, not create a cluttered collection of black-and-white objects.
Build a fallback and finish the handoff
Keep a small replacement supply of practical items only where needed, such as clean napkins or a spare place card. Clear food and used dishes before dismantling decor. Separate borrowed pieces and store them with their owners' names. Note the setup recipe so you can repeat it without buying another themed set. A restrained table is successful when people can eat, see one another and use the space easily.
Try the full meal footprint
Put an empty version of every serving dish on the table, including water, bread or condiments if planned. Pull chairs out and simulate passing a platter. If an item must hover over glasses or a guest's plate, find a separate serving surface or simplify the arrangement. This test makes the design functional and shows why an attractive empty-table photograph may need editing before guests actually sit down.
Your working checklist
Checkmarks stay in this browser when storage is available. They do not submit information or complete a purchase.
Put it into practice
- Choose the serving format and measure the table.
- Inventory existing items before buying matching decor.
- Place the full meal footprint in a prototype.
- Add napkins and a restrained focal detail last.
- Check sightlines and movement from seated positions.
- Save the recipe and return borrowed items after use.
Before you finish
- Serving dishes fit without displacing guest plates.
- Names and menus are easy to read.
- Decor does not block conversation or movement.
- Small loose pieces and flame arrangements are appropriate to the setting.
Common questions
Does everything need to match?
No. Repeating a small number of colors or materials can create unity across different existing pieces. Prioritize stable, usable tableware and a clear visual rhythm rather than purchasing a complete matching collection.
Can the table have color?
Yes. Natural food, flowers or wood can sit comfortably within a mostly black-and-white arrangement. If the goal is restraint, keep the additional color deliberate rather than adding several competing decorative accents.
What if we serve family-style?
Reserve the center for the actual platters and serving utensils first. Use a smaller focal item or put decoration on a nearby surface. The food-service method should determine how much decoration fits.
How can it feel more polished on a budget?
Use clean surfaces, readable paper items, consistent folds and thoughtful spacing. A tested simple layout often feels more considered than many inexpensive objects scattered across the table. Borrow suitable basics where practical.